“This post contains affiliate links. If you make a purchase through these links, I may earn a commission at no extra cost to you.”
Imagine you wear multiple hats professionally. Perhaps you’re a writer, a photographer, and a consultant, and you’d like each role to have its own online presence. WordPress.com makes that possible without forcing you to create entirely separate accounts.
I started blogging on WordPress.com in 2015. My first blog post dates back to November 4, 2015. Since then, WordPress has evolved significantly, introducing new features and changing how websites are built and managed. Some of those changes deserve an article of their own.
Today, however, I want to walk you through something simple but useful: how to add a new site to your existing WordPress.com account.
The good news is that this doesn’t require a separate hosting account. Everything can remain under one roof.
Why Create Another Site?
For me, the need to create another WordPress.com site comes from the desire to reinvent myself.
When I first joined WordPress, I was primarily a poet. I wanted a place to pour out my thoughts and connect with readers. It worked.
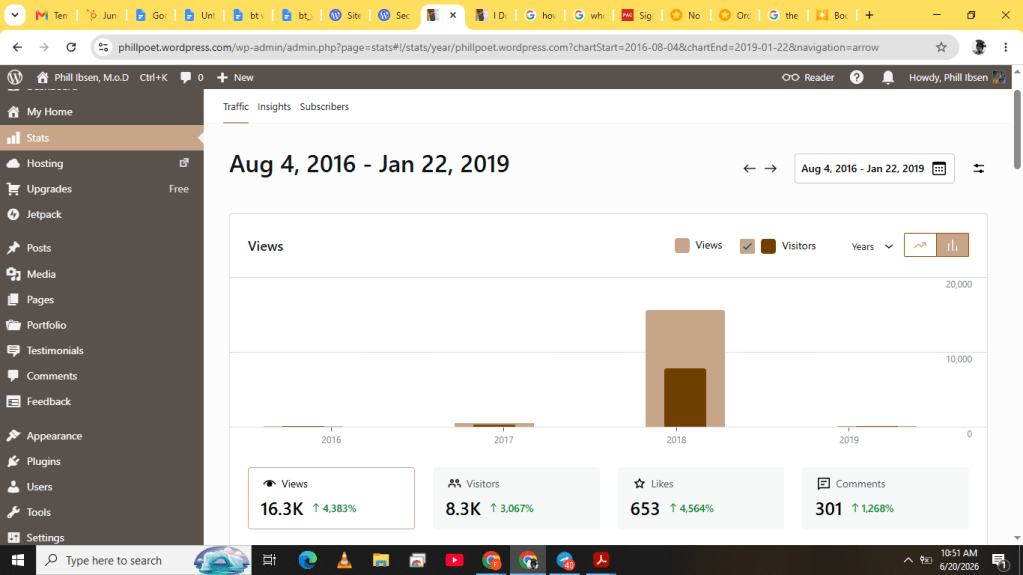
Between 2016 and 2019, I consistently published content and accumulated:
- 16.3K views
- 8.3K visitors
- 653 likes
- 301 comments
It was a good run.
But the person I was then isn’t the person I am now. My interests have evolved, my work has expanded, and my niche has changed. Rather than abandoning my old site, I wanted a new space that reflected who I am today while preserving the identity and history of my earlier work.
Getting Started
To begin, log in to your WordPress.com account.
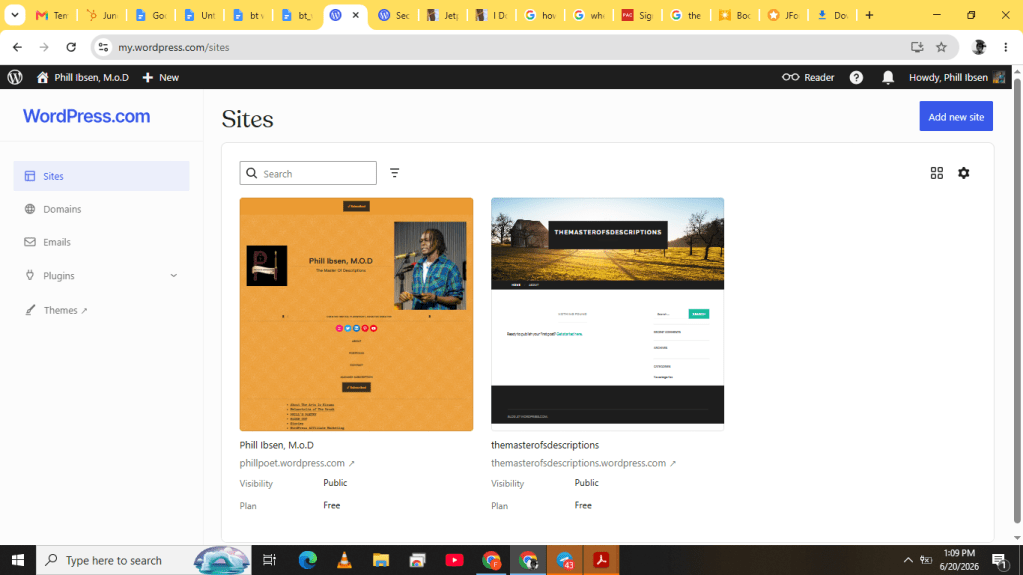
Once inside your dashboard, you’ll see the sites currently associated with your account. If you only have one site, you’ll only see that one.
To add another site:
- Click Add New Site in the top-right corner of the dashboard.
- WordPress.com will present four options for creating your new site.
Option 1: Create a New Site Yourself
Start with a clean WordPress installation and build everything from scratch.
Option 2: Build with AI
Use WordPress.com’s built-in AI website builder. Simply describe the type of website you want, and the AI will generate a starting point for you.
Option 3: Migrate an Existing Site
If you already have a website elsewhere, WordPress.com allows you to migrate it into their platform.
Option 4: Connect an Existing Site with Jetpack
Install the Jetpack plugin on an existing WordPress website and access WordPress.com’s management tools and features.
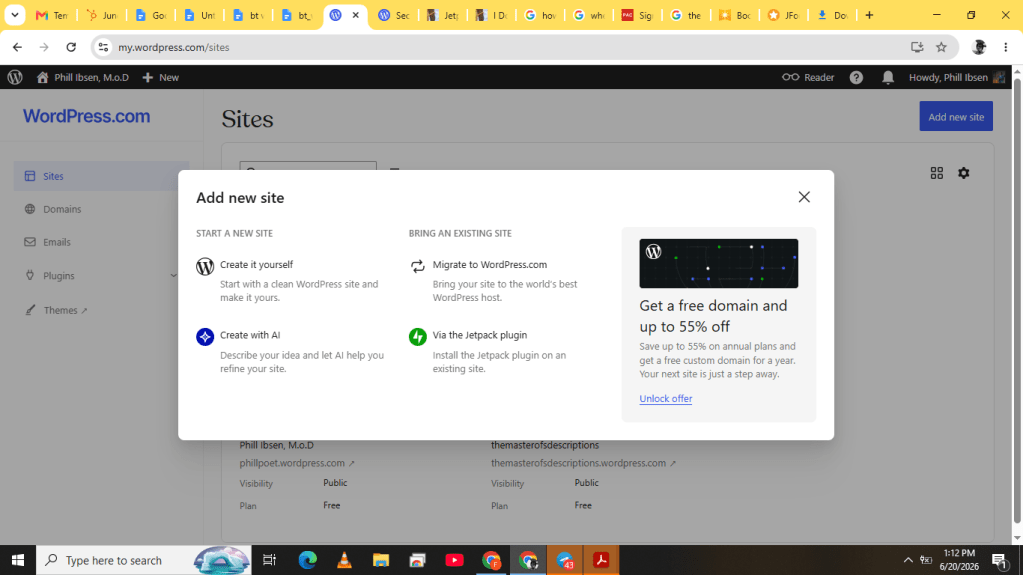
For this tutorial, I chose the first option.
I’m a bit old-school. I still believe that if you want something done exactly the way you envision it, it’s worth building it yourself.
To me, building a website is like building a family home. It becomes a place that holds your ideas, lessons, experiences, and growth. I want to understand every corner of that space rather than inheriting something I didn’t help create.
Choosing Your Domain Name
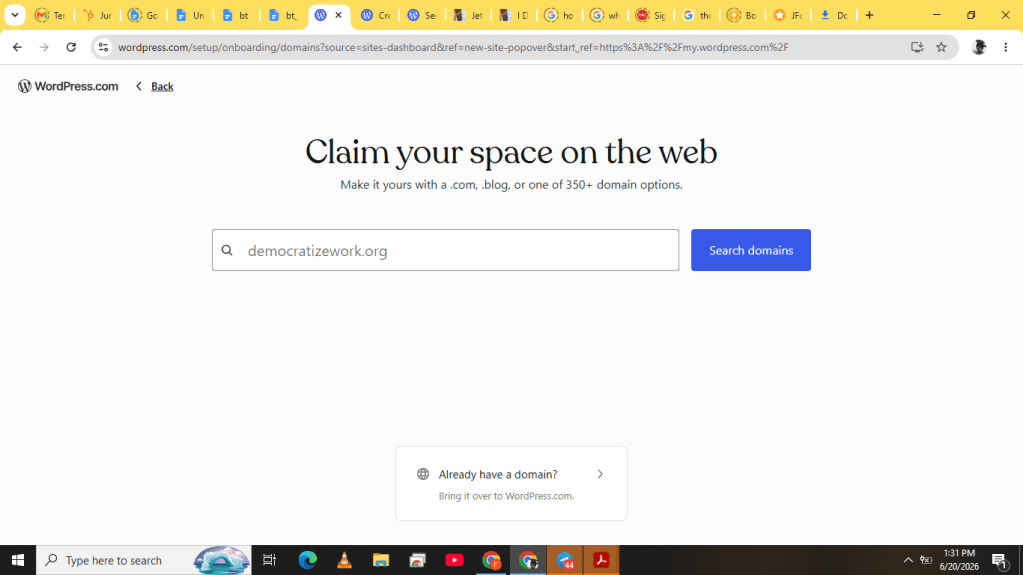
After selecting your preferred setup option, WordPress.com will ask you to claim your online space.
Here, you’ll enter the name of your business, brand, organization, or project.
For example, I wanted to create a website for a collective of artists, so I entered PamoJani Arts.
WordPress.com then suggested a variety of available domain names and pricing options.
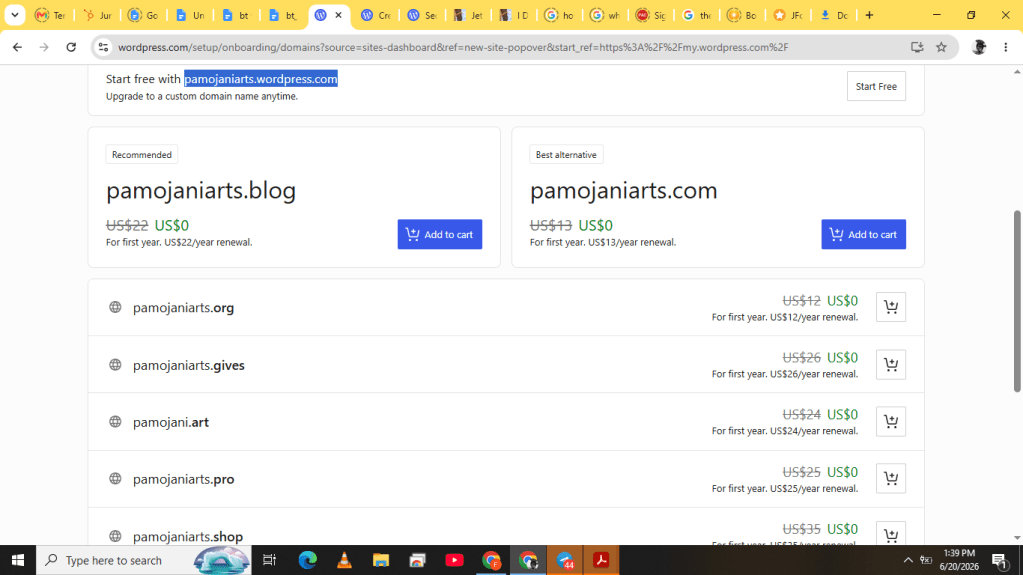
At the time of writing, WordPress.com offers free domain registration for the first year on eligible paid plans, after which you’ll only pay annual renewal fees.
If you decide to purchase a custom domain, add it to your cart and click Continue.
Choosing a Plan
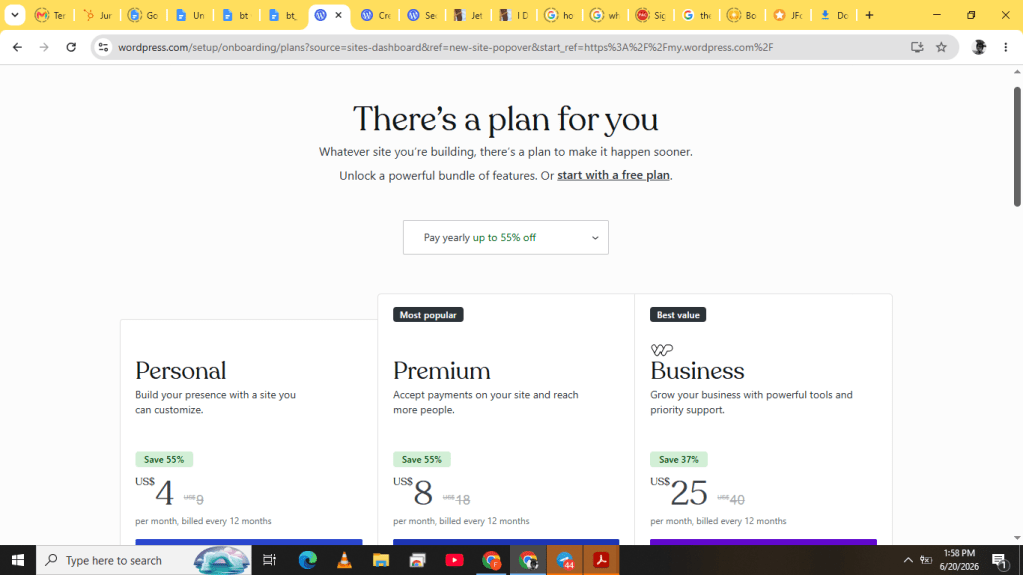
After selecting your domain, you’ll be prompted to choose a hosting plan.
WordPress.com currently offers three common plans for most users:
Personal Plan
The Personal Plan includes:
- 6 GB storage
- Unlimited pages, posts, users, and visitors
- No visitor ads
- Guided website builder
- Premium themes
- Customer support
- Access to WordPress plugins
At approximately $4 per month when billed annually, it is a good option for individuals looking to establish an online presence without necessarily monetizing their content.
Premium Plan
The Premium Plan includes everything in the Personal Plan, plus:
- 13 GB storage
- Premium analytics
- Payment buttons
- Video uploads
- Additional customization features
This plan is ideal for creators and bloggers who want to monetize their websites and engage more deeply with their audience.
Business Plan
The Business Plan includes:
- Unlimited pages, posts, users, and visitors
- Premium themes
- Priority support
- Premium analytics
- Payment processing
- VideoPress with 250 GB storage
- Built-in site assistant
- Free business email for one year
- Email marketing tools
- Advertising credits
- Real-time backups
- One-click restores
- SFTP/SSH access
- WP-CLI support
- Git and GitHub deployment tools
This plan is designed for businesses requiring advanced functionality, custom plugins, and developer tools.
WordPress.com also offers WooCommerce and Enterprise/VIP solutions for larger organizations.
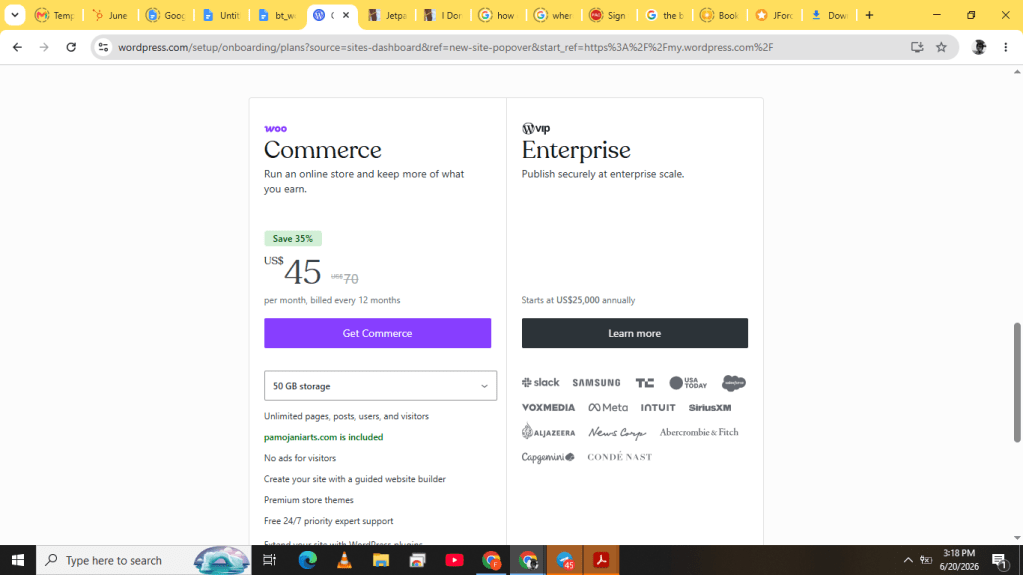
Before selecting a plan, compare your options carefully and choose one that aligns with both your goals and your budget.
For my project, I selected the Premium Plan because I wanted monetization options without the higher cost of the Business Plan.
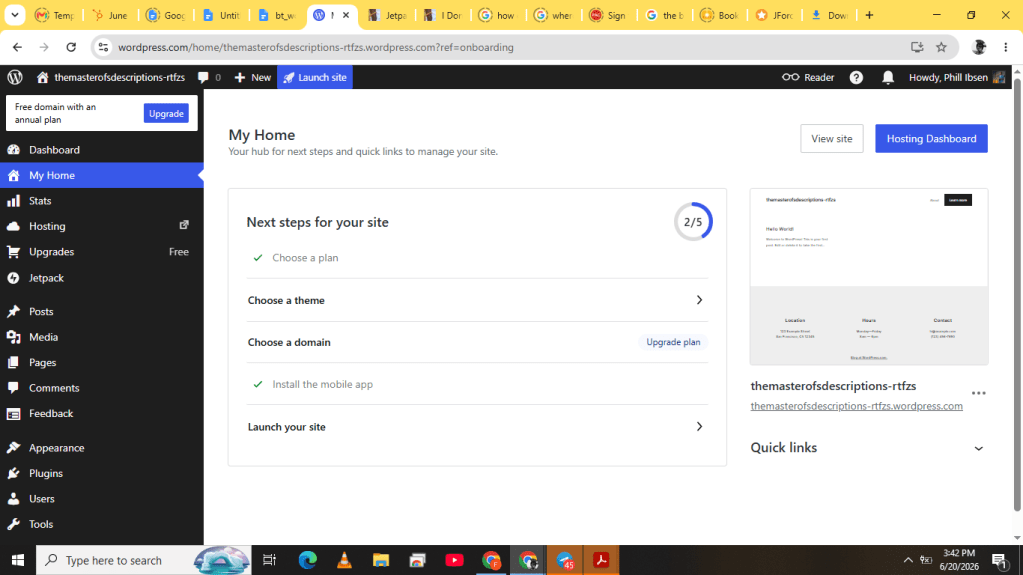
Choosing a Theme
Once you’ve selected a plan, the next step is choosing a theme.
A theme is the visual blueprint of your website. It determines the overall look, feel, and user experience.
Think about the first time you entered your favorite building. What stood out? The layout? The atmosphere? The ease of navigation?
The same principles apply to websites.
WordPress.com offers a wide range of themes tailored to different industries and content types. Before committing to one, you can preview how it will appear on your site.
When choosing a theme, prioritize usability. Your visitors should be able to navigate your website easily and find information without frustration.
After activating your preferred theme, click Launch Site.
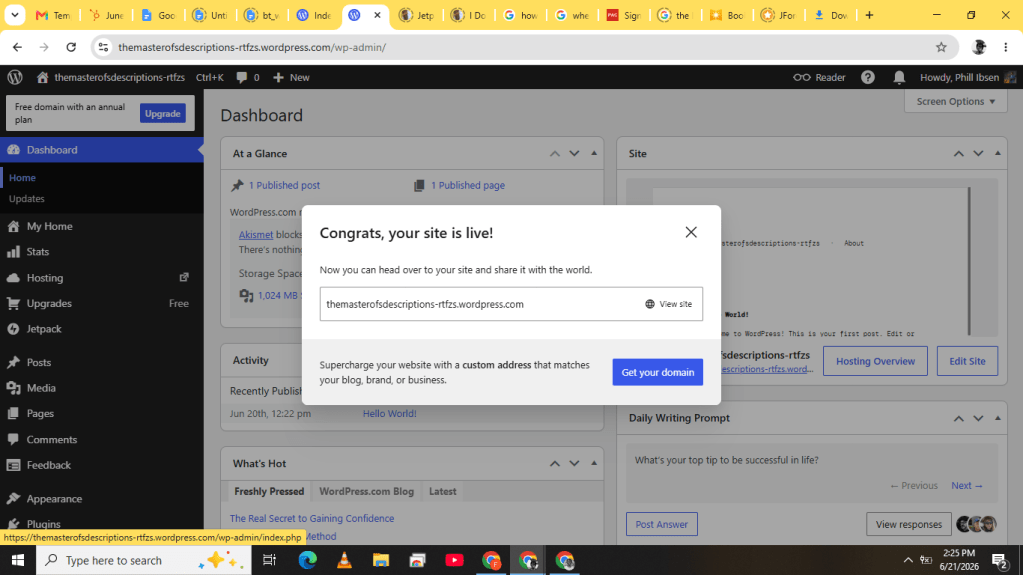
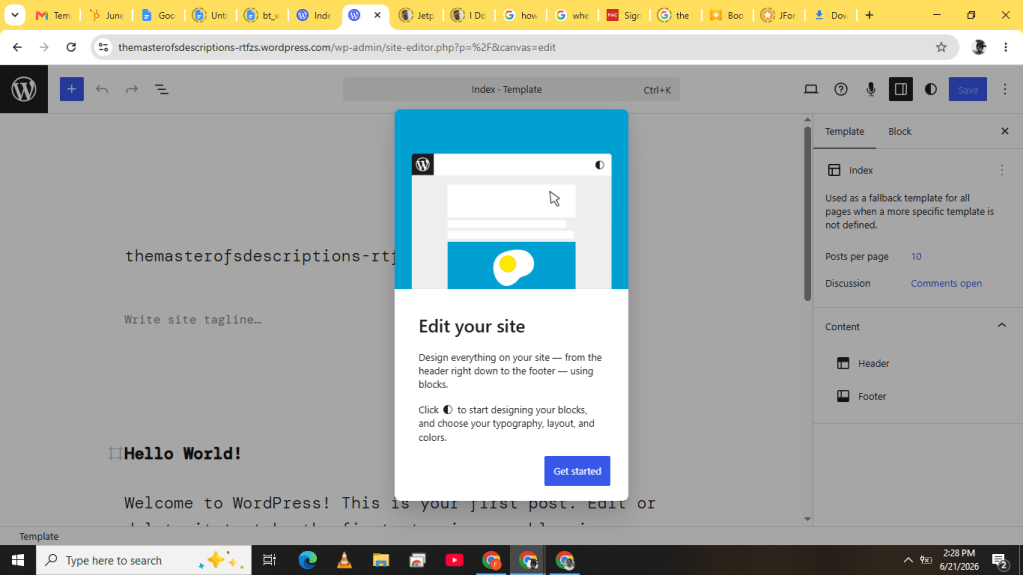
Once the site goes live, you’ll be redirected to your dashboard, where you can begin customizing the template. This is the stage where you can update your branding, modify layouts, add pages, and tailor the site to your needs.
Adding another site to your existing WordPress.com account is surprisingly straightforward.
Whether you’re launching a new business, separating different creative projects, or simply starting fresh without abandoning your older work, WordPress.com makes it possible to manage multiple websites from a single dashboard.
For me, creating a second site wasn’t just about building another website — it was about creating a new home for a new chapter of my creative journey.
If you’ve been considering starting over or expanding your online presence, adding a new site might be the simplest place to begin.
Hope you enjoyed this article.

Leave a Reply